I really had an amazing weekend full of creativity, learning, and time well spent. It was exactly the kind of weekend I needed, after a long week and with the creative hibernation that I’ve been feeling (screw off, winter!) I’m really, really excited to tell you guys all about it and show you some of the new tricks I learned.
I started off my weekend watching another CreativeLive Workshop, Experimental Portraiture with Sue Bryce and Lara Jade, two amazing photographers. If you’re interested in creative work at all, this is definitely a fun one to watch (or sort of watch. to have on in the background?). I know I’ve mentioned CreativeLive before, but just in case you don’t remember – it’s a company that provides live workshops online for free from professionals all across the globe (and makes those available for purchase later). Their are a lot of great resources and workshops on the website and I really encourage everyone in a creative field to check it out.
Anyway, I got seriously distracted while watching this workshop. Seriously. The story is this: at one point, Lara mentions something about nail polish, and I never learned what she did with her nail polish and why because I shouted “NAIL POLISH” and then went off on a creative tangent where I went and started making these crazy designs without even really being sure what I would do with them, just that I would use them. Somehow.
And here’s how I did it:
1. Ladies, grab your nail polish.
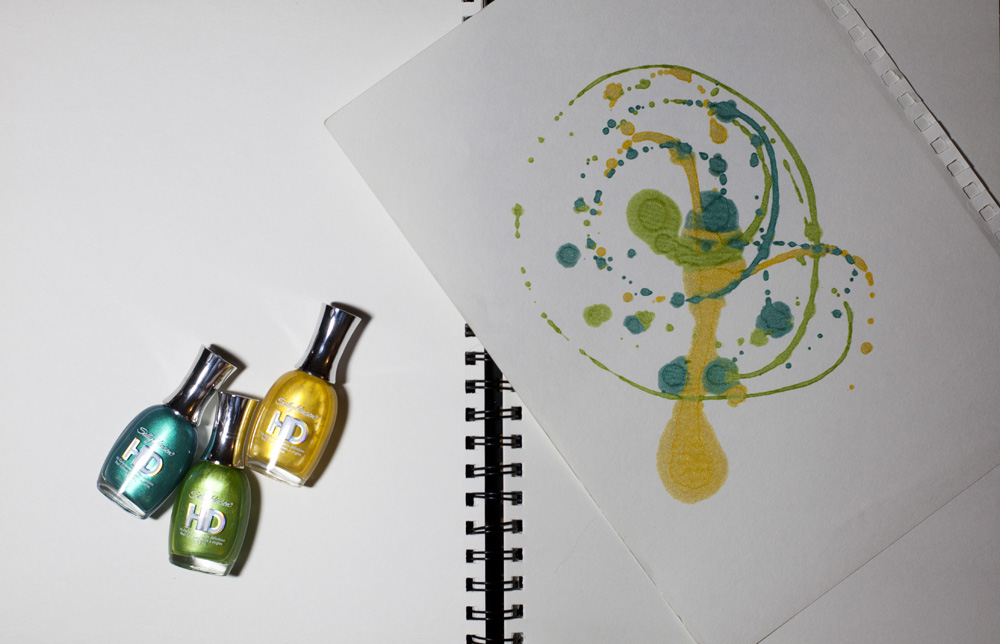
2) Make sure you have some nice, thick paper and some other flat surface. I first started on some plastic wrap. It was difficult to work with, but gave an interesting texture when I lifted the paint from the paper. I also thought that I might be able to use the dried paint as a sort of overlay over my lens, but it didn’t work very well. Mostly, the painted bits of plastic wrap just made the photograph look fuzzy.


3) Pour! There really isn’t a special method to this – just do whatever you like. I like to start out just doing a little bit at a time, so I get those nice splatters, and then get a light stream going through too. You can get a lot of interesting effects just by playing around with what you have.


4) Apply your paper to your surface. Or your surface to your paper. Or your paper to your paper. Experiment with flat surfaces and different textures to get different effects!
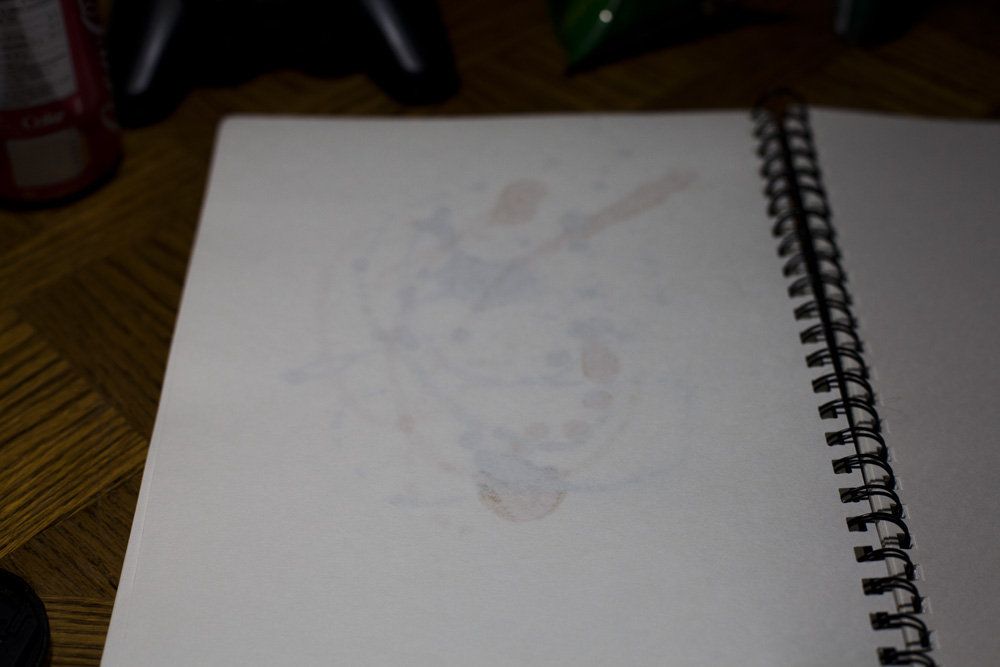
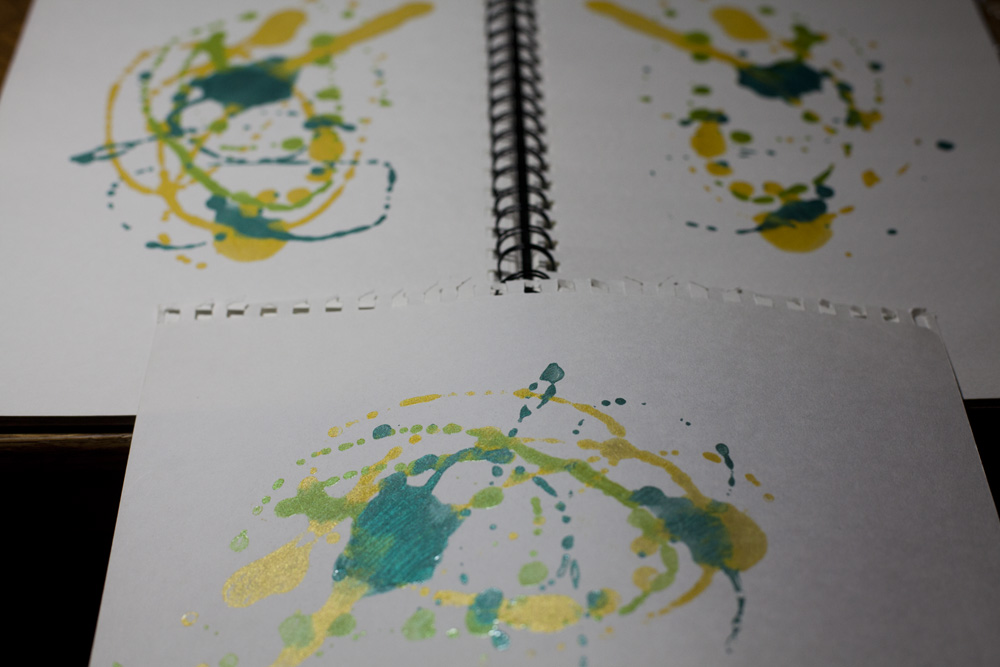
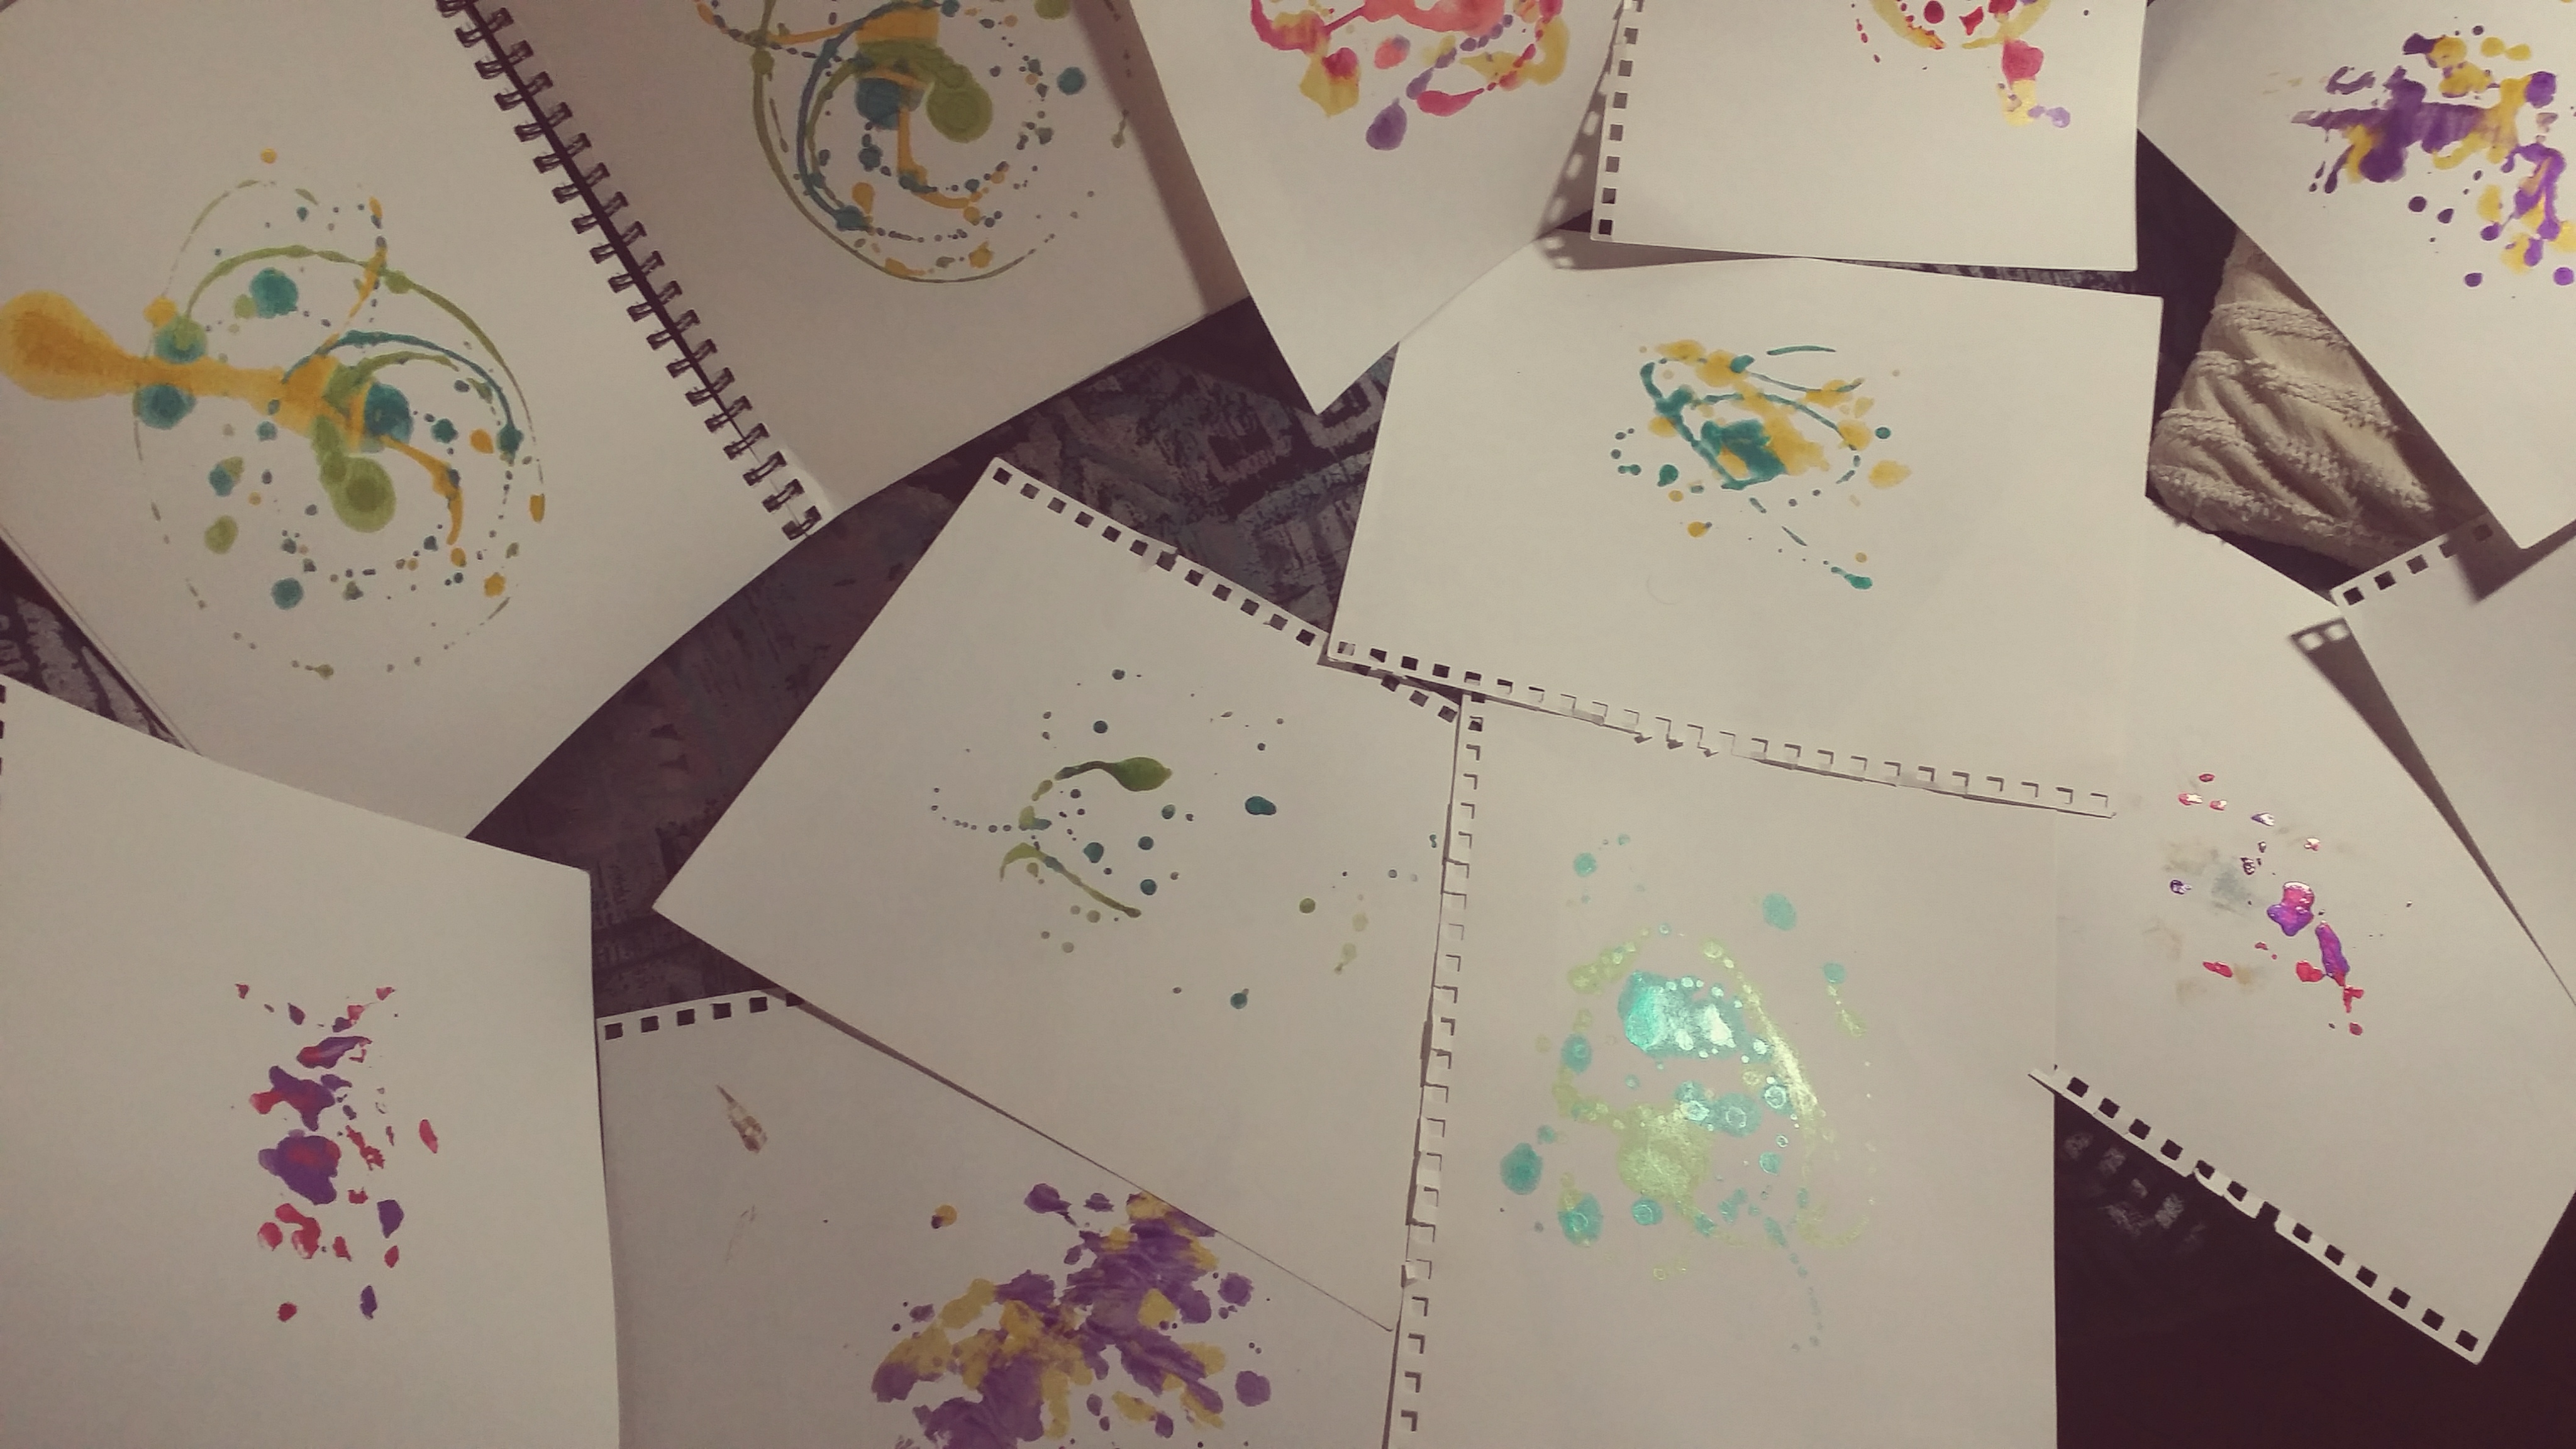
5) Let it dry! Let it dry! And then admire your results!


And now, for the why. I scanned these lovelies onto my computer and them pulled them into photoshop for a bit of fun. And here’s what I came up with!


Aside from doing this project, I did some cool stuff with some dried flowers which I’m hoping I’ll be able to use in a creative way sometime in the upcoming week. In the meantime, I’d love to hear about some creative things you’ve done to use in your photographs (or any creative medium, really).
Also, FREE STUFF. Who doesn’t like free stuff? Here are those two textures I just showed you, the full size scans. Take and have fun! I’d love to see your results! I’m sure you could find an even cooler way to use them 🙂
(Click me for the dropbox link to the photos)
Have a wonderful night!

Nifty, Jen. I like them as photo overlays.
Steve
Thanks! 😀 it was a lot of fun!