Recently, a friend of mine out in Australia-land was asking me questions about aperture – specifically, she was curious on how someone could take a photo of a small object in focus, while still having a relatively blurred background. Having a very solid understanding of how aperture works helps mounds in this aspect, so I decided to put together a little guide on aperture and how to use it to your advantage.
The first thing to understand about aperture are those little numbers associated with it, and what they mean. Those numbers associated with aperature refer to the amount of light blocked by the aperture blades in the lens when you take the photograph. The smaller the number, the smaller amount of light blocked. Also, the smaller the number, the less depth of field (ie, your backgrounds will be blurrier, it’s harder to keep a whole object in focus). When your number is large, your depth of field increases and things are more in focus.

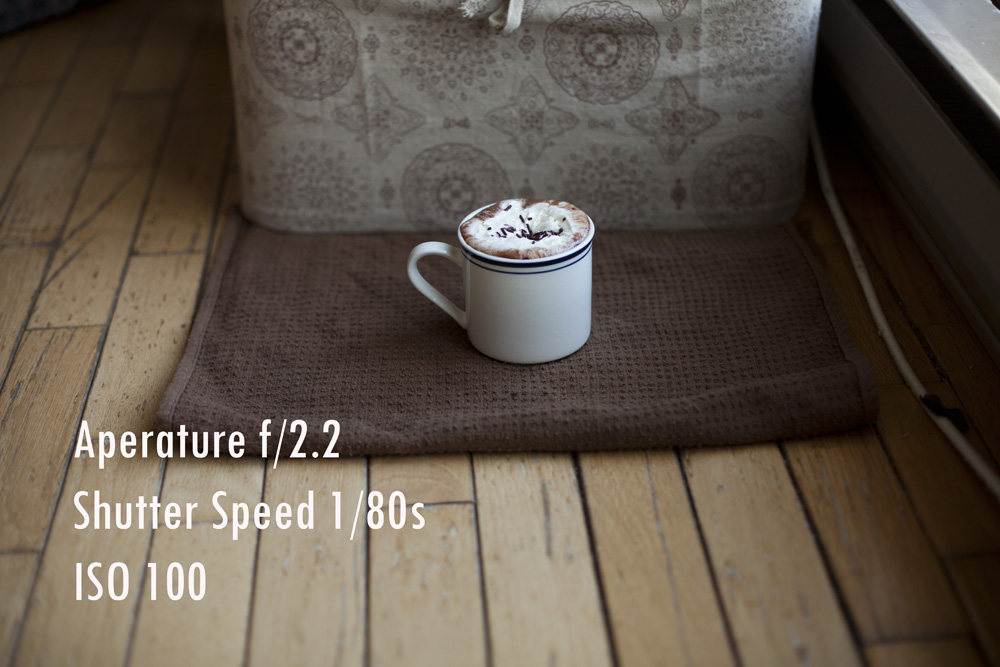
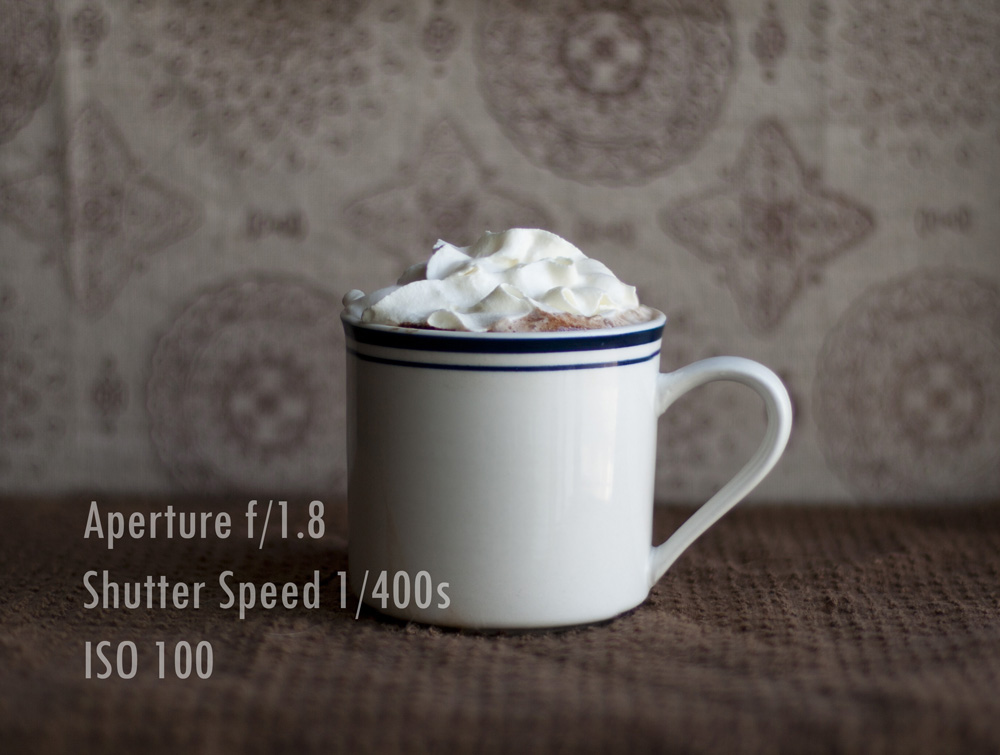
So, this was the first picture I took. I shot this on a full frame camera, with a 50mm f/1.4 lens. As yo can see, I shot with a relatively small aperture (excuse my typo in the shot), not the smallest, but still small. The field of view is incredibly small with only the center of the cup being in focus. The background is very blurred. Overall, this isn’t what we’re looking for. On to the next photos.
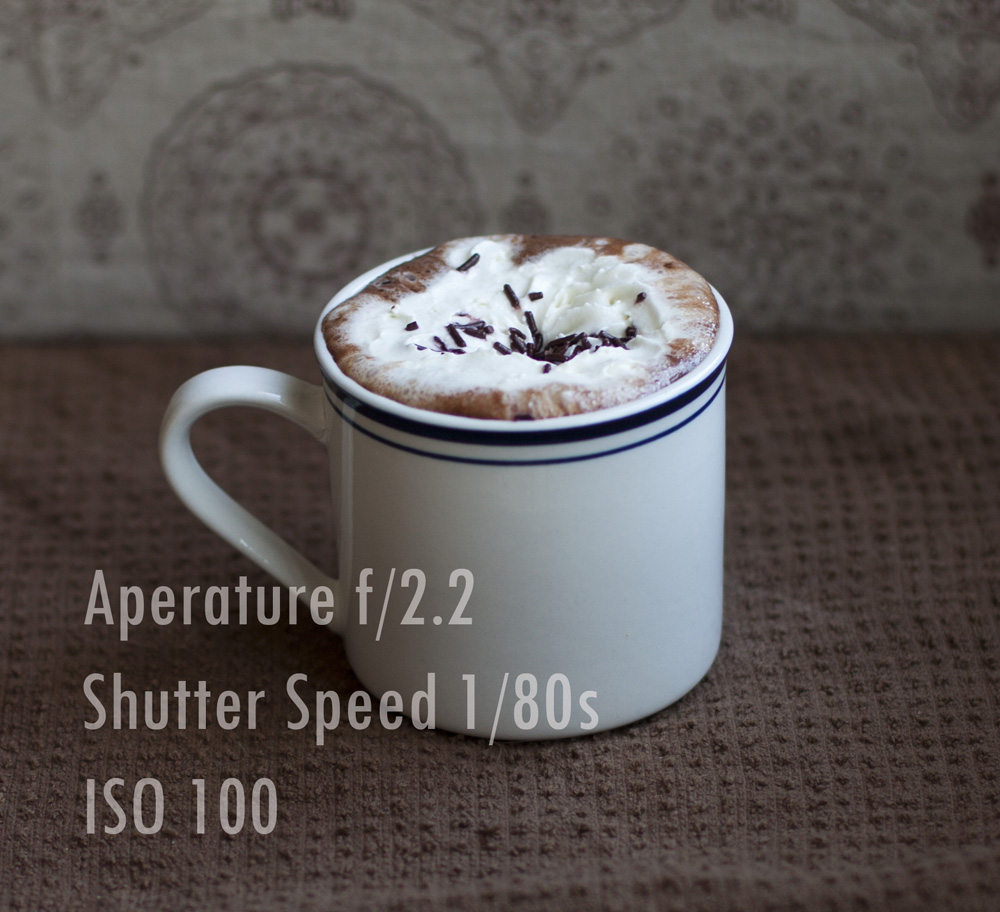
Here are the same photo, with one cropped down to comparable size with the first photo. Note how I’ve used the same settings, but here you can see much more of the cup is in focus. This is because the further I focus my lens away, the larger my field of view becomes. Therefore, if I step away from my object and focus to it again, more of it will be sharp. The background is also going to be sharper.
It’s worth noting here that if you’re trying to shoot a smaller object, there is an argument for using a crop sensor camera here. Because the sensor is smaller, you can have the same distance between subject and lens and still have the cup fill the photograph, whereas on a full frame camera, to keep the cup that size, I have to be much closer to the object and still have that problem with the small depth of field.
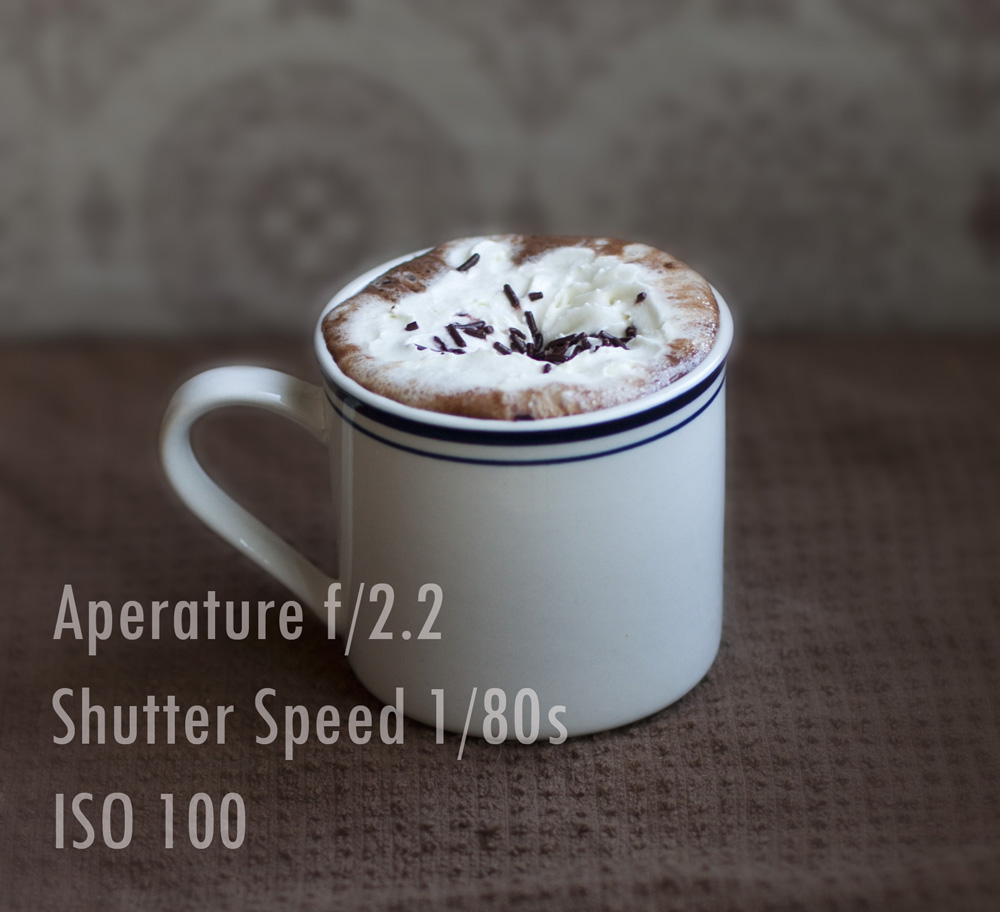
We want the background blurrier, so we have the photoshop option. In the photograph below, I made a duplicate layer, used the Elliptical Marquee Tool to select the “focus” area – inverted my selection, feathered 250 pixels (x2), and gaussian blurred. Then I used layer masking to select out the areas I didn’t want to apply the blur to. I just did mine really rough and quickly, but with some patience and finesse, one could make it look good.
The next step we can take is to increase our aperture number to something higher. On to the sharper! Note that to compensate for the higher number (less light coming in), we need to decrease our shutter speed or make our ISO higher to make the photograph lighter again.


Let’s talk more about how you can get the desired result my friend was asking about – sharp images, blurry backgrounds. Increasing our distance, at any aperture level, is going to create an increased level of separation between our foregrounds and backgrounds. This means blurrier backgrounds, sharper objects! Go compare the photo below to my other picture of the cup taken at f/4. This simple change made a big difference.


Sometimes your location doesn’t allow you to create a greater separation between subject and background. A lot of the time, it’s just finding the right balance between aperture, shutter speed, and ISO. You could also use photoshop for some of the trickier photographs. In the photograph below, I merged together 3 pictures with different focal points and a very low aperture.
It’s important to note that if you do use this method, it’s very important that you use a tripod! If you fidget or move just a little bit, especially forward or backward, that’s going to screw up your perspective and make it very difficult to photoshop these together. Even with my tripod, I didn’t have this perfect. Luckily, the movement was so small (thanks to the tripod), I could still lay the cups on top of each other and have them perfectly match.
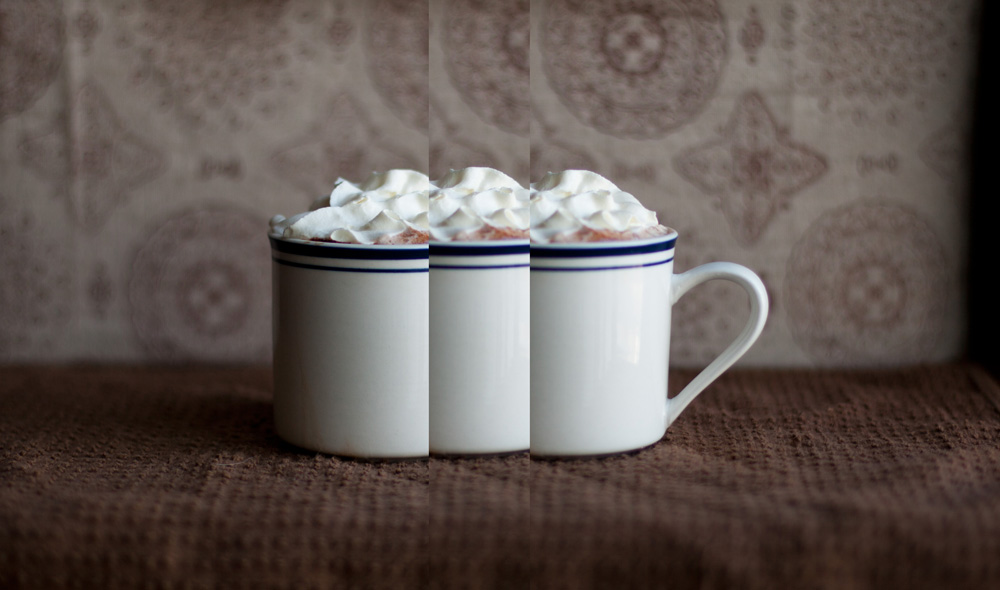
Merging these three photos together using compositing, I am able to make an image that has a very crisp subject without sacrificing or altering my background. This again was done with layer masking – I stacked the three photos on top of each other and erased the bits that were blocking the sharper focus. There are other applications for using this technique – perhaps a photograph of two people who aren’t on the same plane. A photographer could easily use this method to “increase” the depth of field while still using that low aperture.
I think that’s a nice balance, but given your personal tastes and slight adjustments, you could make the background blurrier than what I have here.
Happy shooting, everyone! If you have any questions, feel free to comment here or shoot me an email. I’d be happy to touch on other subjects too.

Good stuff, Jen. Thanks.